Moving a Tempurpedic mattress requires a different approach than moving a traditional innerspring mattress. Due to their unique memory foam construction, they are heavy, flexible, and can be easily damaged if handled improperly. Mishandling can lead to tears, foam cell structure damage, and voiding your warranty.
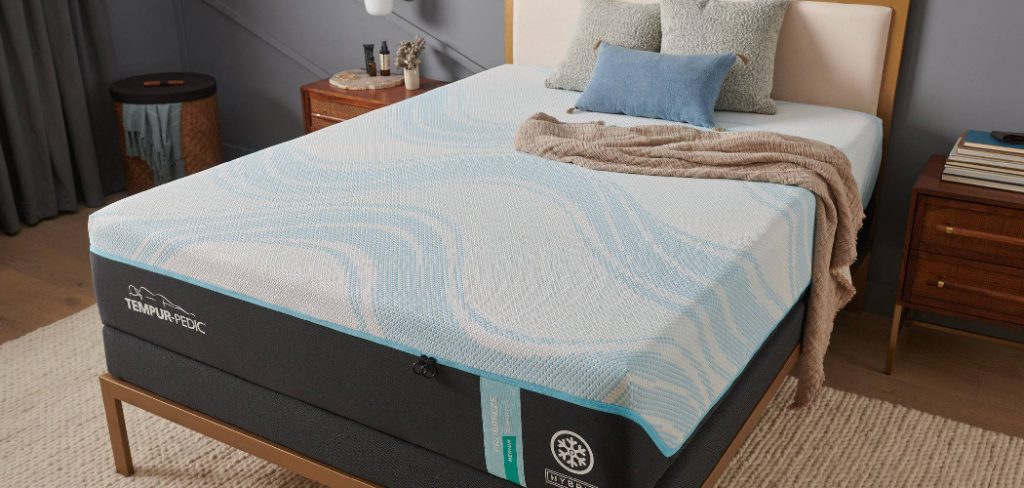
This guide on how to move a tempurpedic mattress will walk you through the correct process to ensure your investment is protected. Following these steps carefully will help you move your Tempurpedic mattress safely and efficiently, so you can continue enjoying its comfort in your new home without any issues. Proper preparation is the key to a successful move.
Tools and Materials You’ll Need
To properly move your Tempurpedic mattress, you will need the following tools and materials:
Mattress Bag or Plastic Wrap:
A mattress bag or plastic wrap is essential for keeping your mattress clean and protected during the move. Make sure to purchase one that is specifically designed for a Tempurpedic mattress, as it may be thicker and more durable than regular mattress bags.
Moving Straps:
Moving straps are helpful for lifting and carrying heavy objects such as mattresses. They distribute the weight evenly and reduce strain on your back and arms.
Dolly or Hand Truck:
A dolly or hand truck can also be useful in moving your Tempurpedic mattress, especially if you have to navigate stairs or narrow hallways.
Packing Tape:
Packing tape will come in handy when securing the plastic wrap or mattress bag around your Tempurpedic mattress. Make sure to use a strong, durable tape to avoid any tears or open seams.
Furniture Glide:
If you need to move your Tempurpedic mattress across hardwood or tile floors, using a furniture glide can make the process much smoother and easier. These small discs are placed underneath the legs of furniture and allow them to slide easily without scratching the floor.

Cleaning Supplies:
Before packing and moving your Tempurpedic mattress, it’s important to clean it thoroughly. Use a gentle cleaner and let it dry completely before wrapping or placing it in a storage unit.
8 Simple Step-by-step Guidelines on How to Move a Tempurpedic Mattress
Step 1: Prepare Your Mattress and Workspace
The first step is to create a clean and clear environment for working. Strip all bedding from your Tempurpedic mattress, including sheets, blankets, pillows, and any mattress protectors. This is also an excellent opportunity to wash your bedding so it’s fresh for your new space. Once the mattress is bare, vacuum it thoroughly on all sides to remove any dust, pet hair, or debris that may have accumulated. A clean mattress is less likely to suffer from abrasion or get dirty during the move.
Next, focus on your workspace. You will need a large, open area to work in, preferably on the floor. Clear the room of any furniture, obstacles, or tripping hazards. This includes nightstands, lamps, rugs, and anything else that might get in your way. Having a clear path from the bedroom to the exit is also vital. Measure your doorways, hallways, and stairwells to ensure the mattress will fit through once it’s packaged. This foresight prevents you from getting stuck and having to repackage the mattress mid-move.
Step 2: Carefully Slide the Mattress into a Bag
With your workspace prepped, it’s time to protect your mattress. Do not attempt to lift the heavy mattress into the bag. Instead, lay the mattress bag flat on the floor and open it up. With the help of your partner, carefully position yourselves on opposite sides of the bed. Working together, gently slide the mattress off the box spring or bed frame and onto the floor, aiming to land it directly onto the opened mattress bag. This maneuver requires coordination to avoid dropping or bending the mattress excessively.
Once the mattress is on top of the bag, slowly and patiently work it inside. One person should hold the bag open while the other gently pushes and guides the mattress. The foam can create friction against the plastic, so take your time. Ensure the mattress is fully enclosed and centered within the bag. After it’s completely inside, press out as much excess air as you can before sealing the bag’s opening. Use a generous amount of packing tape to create a strong, airtight seal. This protects it from dirt, moisture, and potential pests during transit.
Step 3: Reinforce the Mattress with Cardboard
A key rule for moving Tempurpedic mattresses is to keep them flat. They should never be folded, bent, or stood on their side for extended periods. Bending can cause permanent damage to the foam cells and compromise the mattress’s structure and comfort. To prevent this, you need to create a rigid support system. Lay several large, flat sheets of cardboard on the floor, creating a surface area that is slightly larger than the mattress itself. You can tape multiple pieces together if needed to achieve the right size.

With the help of your assistants, carefully lift the bagged mattress and place it on top of the cardboard base. Now, place another layer of cardboard sheets on top of the mattress, creating a sandwich effect. The cardboard acts as a splint, providing the rigidity that the flexible mattress lacks. This makeshift moving box is the most important part of protecting your mattress from being folded or improperly handled by you or by movers who may not be familiar with the requirements of memory foam.
Step 4: Secure the Entire Package Tightly
With the mattress sandwiched between layers of cardboard, the next task is to secure the entire package into a single, solid unit. This step is crucial for maintaining rigidity and ensuring nothing shifts during transport. Start by using tie-down straps or a strong rope. Place at least two straps widthwise and two straps lengthwise around the cardboard-encased mattress. If you’re using ratchet straps, tighten them until the package feels firm and solid, but be careful not to overtighten to the point where you compress the foam or crush the cardboard edges.
After the primary straps are in place, add more security with packing tape. Wrap packing tape generously around the entire package, both vertically and horizontally. This tape serves two purposes: it holds the cardboard pieces firmly together and adds another layer of reinforcement, preventing the straps from slipping. The goal is to create a single, unbendable “plank” that fully protects the mattress inside. The finished package should be stable enough that you can’t easily bend any part of it.
Step 5: Carefully Maneuver the Mattress onto a Dolly
Now that your Tempurpedic mattress is securely packaged and reinforced, it’s ready to be moved. This rigid, heavy package is awkward to carry by hand, especially through tight spaces or down stairs. This is where a furniture dolly or a hand truck becomes indispensable. With your helpers, position the dolly at one end of the packaged mattress. Working together, carefully tilt the package and slide the dolly’s platform underneath it. One person should stabilize the dolly while the others lift and position the load.
Once the mattress package is balanced on the dolly, secure it one more time. Use an additional strap or a bungee cord to fasten the package to the dolly itself. This prevents it from tipping or sliding off while you’re navigating corners or uneven surfaces. The person guiding the dolly should pull it backward, while the other person walks in front, helping to steer, clear obstacles, and support the load, especially when going over bumps or thresholds. Communication is key during this phase to prevent accidents.
Step 6: Load the Mattress into the Moving Truck
Transporting the mattress correctly is just as important as packing it. The primary rule remains: keep the mattress flat. When you get to your moving truck or van, identify a flat, level surface where the mattress can lie undisturbed. This could be on top of a stack of sturdy, flat-topped boxes or on the floor of the truck if you have the space. Never prop the mattress up on its side against the wall of the truck, as the pressure and vibrations from the road can cause the foam layers to shift or deform.
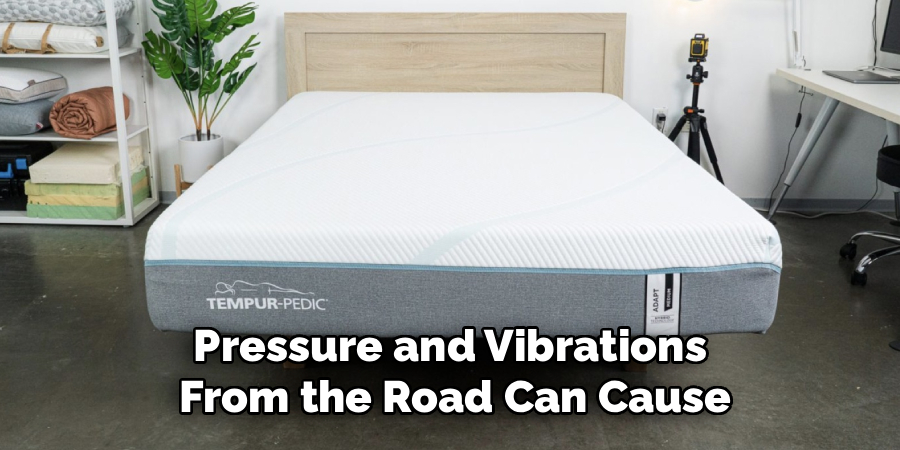
With your team, carefully lift the package off the dolly and into the vehicle. Slide it into its designated flat spot. Ensure that no heavy or sharp objects are placed on top of it during the move, as this could puncture the packaging and damage the foam. The weight of other items can create permanent indentations in the memory foam. If possible, place the mattress in the truck first and pack lighter items around it, ensuring it has a stable, protected space for the duration of the journey.
Step 7: Unpack with Care at Your New Home
Once you’ve arrived at your destination, the unloading process is essentially the reverse of loading. Carefully remove the mattress package from the truck, keeping it flat, and use the dolly to transport it into the new bedroom. Before you start unpacking, ensure the new bed frame or box spring is assembled and ready. This gives you a place to put the mattress immediately, rather than leaving it on the floor. Clear a path and a workspace just as you did before.
Place the packaged mattress on the floor and carefully cut away the straps and tape with a box cutter or scissors. Be mindful not to cut too deeply, as you could slice through the cardboard and damage the mattress bag or the mattress itself. Remove the cardboard sheets and set them aside for recycling. Then, with your partner, slide the mattress, still in its bag, onto the prepared bed frame or box spring. This is much easier than trying to lift a “floppy” mattress from the floor onto a high surface.
Step 8: Let the Mattress Rest and Acclimate
After sliding the bagged mattress onto the bed frame, you can now remove the protective plastic bag. Carefully cut it open and slide it out from underneath the mattress. Your Tempurpedic mattress may look slightly compressed or misshapen after being moved, which is normal. The memory foam needs time to decompress and return to its original shape. It also needs to acclimate to the temperature and humidity of the new room. This is a critical step for restoring its comfort and supportive properties.
Let the mattress rest, completely free of any bedding or weight, for at least a few hours. Tempur-Pedic often recommends up to 24 hours for the mattress to fully recover, especially if it was moved in cold weather, which can make the foam feel firm. Allowing it to breathe helps it expand evenly and ensures the foam cells are fully restored. After this waiting period, your mattress should feel just as comfortable as it did before the move, ready for you to make your bed and enjoy a great night’s sleep in your new home.

Following these steps on how to move a tempurpedic mattress can help ensure that your mattress remains in good condition and continues to provide you with a comfortable sleep surface for years to come.
Frequently Asked Questions
Q1: Can You Fold a Tempur-Pedic mattress for Moving?
A1: No, you should never fold a Tempurpedic mattress. The material is made of a dense cellular structure that can be permanently damaged if creased or bent. Folding the mattress can cause deep tears in the foam, create permanent weak spots, and lead to a loss of support and comfort. This action will almost certainly void your manufacturer’s warranty. Always keep the mattress flat during every stage of the moving process, using cardboard reinforcement to prevent accidental bending.
Q2: How Long Do You Have to Wait Before Sleeping on a MovedTempur-Pediccc?
A2: It is highly recommended to wait several hours, ideally up to 24 hours, before sleeping on your Tempurpedic mattress after a move. This allows the memory foam cells time to fully decompress, expand, and acclimate to the new room’s temperature. Moving, especially in cold weather, can cause the foam to become temporarily firm. Letting it rest ensures it returns to its intended feel and provides the proper support and pressure relief you’re used to.

Q3: Is It Okay to StoreTempur-Pedic mattressess on Its Side?
A3: Storing a Tempurpedic mattress on its side is not recommended, especially for long periods. When stored vertically, the heavy layers of foam can sag, separate, or distort under their own weight. This can cause permanent structural damage. If you must store it for a very short period (a few hours at most), ensure it is in a climate-controlled environment. For any long-term storage, the mattress must be laid completely flat and covered to protect it from dust and debris.
Q4: What Happens if My Tempurpedic Mattress Gets Wet During the Move?
A4: If your mattress gets wet, you must dry it immediately and thoroughly. Memory foam acts like a giant sponge and can be difficult to dry completely. Use towels to blot up as much surface moisture as possible, but do not press hard. Then, use fans and a dehumidifier to circulate air around the wet spot. Never use a hairdryer or direct heat, as this can damage the foam. Any lingering moisture can lead to mold and mildew, which will ruin the mattress and can be a health hazard.

Conclusion
Moving a Tempurpedic mattress is a task that demands care, preparation, and the right technique. By understanding that these mattresses cannot be folded and must be kept flat, you are already ahead of the game. Gathering the necessary tools, getting help from friends, and following the steps on how to move a tempurpedic mattress to pack and reinforce it properly are not suggestions—they are requirements for protecting your investment.
From bagging and reinforcing to careful transport and acclimation, each step plays a vital role in ensuring your mattress arrives in perfect condition. Taking these extra precautions will pay off when you’re settling into your new home and can lie down on your comfortable, supportive mattress without having caused any damage. A successful move means your Tempurpedic will continue to provide you with restful sleep for years to come.
About
Construct Fixes is a distinguished figure in the world of Diy design, with a decade of expertise creating innovative and sustainable Diy solutions.
His professional focus lies in merging traditional craftsmanship with modern manufacturing techniques,
fostering designs that are both practical and environmentally conscious. As the author of diy,
constructfixes delves into the art and science of construction-making, inspiring artisans and industry professionals alike.
Education RMIT University
(Melbourne, Australia) Associate Degree in Design (Construct Fixes) Focus on sustainable design, industry-driven projects,
and practical craftsmanship. Gained hands-on experience with traditional and digital manufacturing tools, such as CAD and CNC software.
Nottingham Trent University
(United Kingdom) Bachelor’s in constructfixes.com and Product Design (Honors) Specialized in product design with a focus on blending creativity with production
techniques. Participated in industry projects, working with companies like John Lewis and Vitsoe to gain real-world insights.
Publications and Impact
In diy, Construct Fixes his insights on indoor design processes, materials, and strategies for efficient production.
His writing bridges the gap between artisan knowledge and modern industry needs, making it a must-read for both budding designers and seasoned professionals.
