
Compressing a mattress might seem like a daunting task at first, but with the right approach and a clear understanding of the process, it can be done safely and efficiently. Whether you are moving to a new home, shipping your mattress for storage, or simply want to save a little extra space, knowing how to properly compress your mattress can help prevent damage, preserve comfort, and make transportation much easier.

This comprehensive guide on how to compress mattress will walk you through every aspect of mattress compression, from the materials you’ll need to the common mistakes to avoid. Whether your mattress is memory foam, latex, or a hybrid, you’ll find tailored steps to ensure the process is smooth. Read on to get clear, step-by-step guidelines, learn when it makes sense to call in the pros, and find answers to common questions that might pop up as you compress your mattress.
Tools and Materials You’ll Need
To compress a mattress, you’ll need the following tools and materials:
- A vacuum cleaner
- Plastic mattress bag or shrink wrap
- Duct tape or packing tape
- Straps or ropes for tying down the compressed mattress
In addition to these basic supplies, you may also need a helper to assist with moving and maneuvering the mattress during the compression process. It is recommended to have someone help, especially if your mattress is on the heavier side.
8 Step-by-step Guidelines on How to Compress Mattress:
Step 1: Clear and Prepare the Mattress
Before you can compress a mattress, it’s vital to ensure it is completely clean and free from any bedding, pillows, or other accessories. Begin by stripping all sheets, mattress toppers, and protective covers from the mattress. Give your mattress a quick vacuum as well, especially if it has been in use for a while, to remove any residual dust or debris.

Setting up your workspace is equally important for success. Move your mattress to a clean, open area where you have enough room to maneuver around all sides. Remove any sharp or potentially damaging objects from the area to avoid accidental tears in the mattress or mattress bag. This preparatory step may take a little extra time, but it goes a long way in preventing problems later in the process.
Step 2: Bag the Mattress Securely
With the mattress fully prepared, slip it into a heavy-duty mattress bag designed for the size and type of your mattress. If the mattress is particularly thick or unwieldy, having another person on hand to help maneuver it into the bag can save you time and frustration. Make sure the bag is fully closed and meets snugly at the edges.
After the mattress is inside the bag, seal the opening tightly with packing or duct tape. Run your hands along the seams to press out as much air as possible before applying the vacuum. Double-check for any small holes or gaps in the bag and reinforce these areas with extra tape to ensure an airtight seal for effective compression.
Step 3: Attach the Vacuum for Compression
Locate the vacuum cleaner’s hose attachment and position it at the opening of the mattress bag. Most mattress bags come with a special valve or small opening designed for this purpose. Suppose your bag doesn’t, simply create a small slit just big enough for the vacuum hose. Ensure the hose fits snugly, then seal the area around the hose with tape to prevent air leaks.
Turn on the vacuum cleaner and begin removing the air from the mattress bag slowly. You will notice the mattress gradually shrinking as the air is sucked out. Let the vacuum run for several minutes, checking periodically to make sure the mattress is compressing evenly and the bag remains sealed at all points during the extraction process.
Step 4: Monitor Compression Progress
As the mattress compresses, use gentle pressure to help guide air toward the vacuum hose for more efficient suction. Do not rush this part; trying to force the mattress into a shape or position can cause it to bend improperly or tear. Keep your hands, feet, and other heavy objects off the mattress to avoid damaging the memory foam or inner coils.

Once the mattress appears to be as flat as possible, turn off the vacuum to check the seal. The mattress should now be much thinner, almost resembling a large, flat panel. With proper patience, this process ensures minimal damage and maintains the integrity of the mattress for future use.
Step 5: Roll the Mattress Carefully
Now that the mattress is compressed, start rolling it from one end toward the other. Depending on your mattress type, rolling may be easier if you start at the foot and work toward the head, but always follow the manufacturer’s recommendations if available. Rolling helps to reduce the mattress’s overall size and makes carrying or transporting it much more manageable.
Take your time as you roll, keeping the roll tight but not so tight that it risks tearing the bag. Applying even pressure as you go will help maintain a consistent shape. When done, the mattress should look like a large, compressed cylinder, ideal for moving or storage.
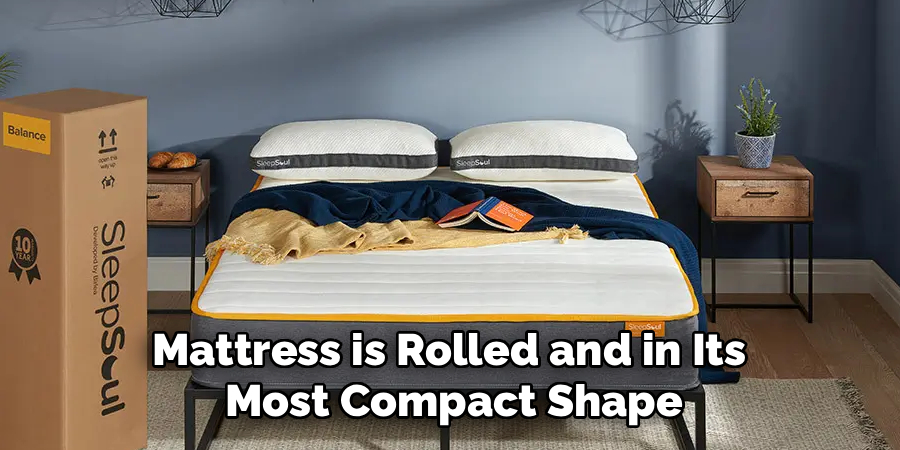
Step 6: Secure with Ratchet Straps or Rope
Once your mattress is rolled and in its most compact shape, wrap it with strong ratchet straps or rope to hold it in place. Make at least two passes around the rolled mattress with each strap or rope, spacing them apart to keep the roll from unraveling. Tighten each strap but avoid over-tightening, which can damage the mattress’s internal materials.
With everything secured, double-check that the roll holds its shape and the bag or plastic wrap is still sealed tight. If there are any signs of the bag loosening, reinforce these areas with additional tape or strap adjustments to avoid a higher risk of the mattress uncompressing during transport.
Step 7: Prepare for Transport or Storage
After your mattress has been compressed and secured, decide if it will be moved or stored. For moving, plan your route ahead of time, accounting for tight corners, stairs, or other obstacles in your home or building. Ask for help carrying the compressed mattress, as they can be heavy and awkward even when rolled.
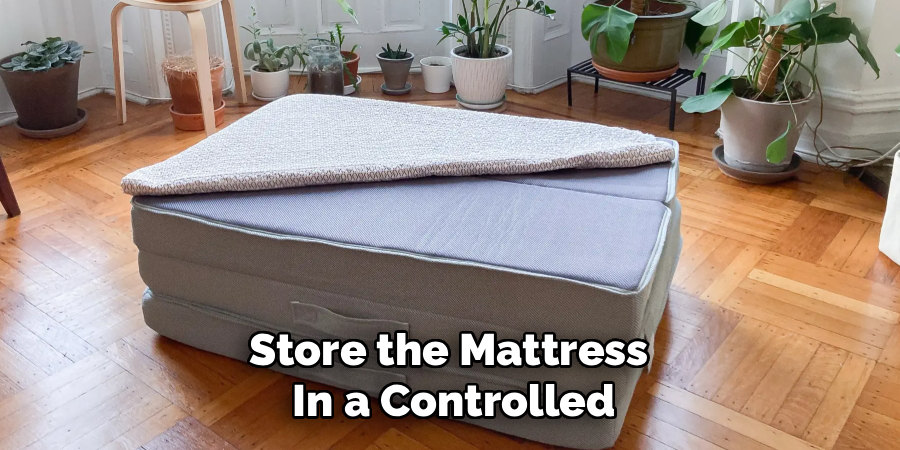
For storage, keep the rolled mattress in a dry, temperature-controlled space. Avoid stacking heavy items on top of it, as long-term pressure can alter its shape and impact comfort once unrolled. Label the mattress if needed to keep track of it, especially if you’re storing more than one type of mattress.
Step 8: Unpacking and Mattress Expansion
When you’re ready to use your mattress again, carefully cut away the straps and open the sealed bag. Give the mattress space in a clean environment for it to decompress—this can take several hours to a full day, depending on the material and thickness. Most mattresses will return to their full shape and comfort level if allowed enough time and airflow.
Avoid using the mattress immediately after opening to ensure all structural components return to their intended arrangement. Check for any signs of lasting compression or damage. If all looks good, your mattress is now ready for regular use once again.
Following these steps on how to compress mattress will help you save space, time and money while storing your mattress. Not only does it protect your mattress from damage, but it also keeps it clean and free from pests. By following these simple steps, you can extend the life of your mattress and ensure its comfort for years to come.
Common Mistakes to Avoid
- Skipping thorough cleaning and preparation can lead to damage or contamination.
- Failing to create an airtight seal results in poor compression and potential re-expansion.
- Using the wrong size mattress bag, which can tear easily or not provide proper coverage.
- Over-tightening straps, damaging internal mattress materials.
- Forgetting to store the mattress in a controlled, dry environment risks mold and mildew.
Do You Need To Use Professionals?
While compressing and moving a mattress is something many people can do themselves, there are cases where professional help is strongly advised. Large, heavy, or high-end mattresses—such as luxury memory foam or hybrids—may require specialized equipment and experience to handle properly. Professionals often use industrial-strength vacuum sealers and reinforced bags to ensure your mattress compresses evenly and safely, minimizing the risk of damage.
Hiring experts can also save you time, prevent accidental mishaps, and remove heavy lifting from your responsibilities. This is especially helpful if you have physical limitations or logistical concerns, like narrow stairwells or a lack of transport. Additionally, some mattress warranties may require professional compression for any claims, making it even more worthwhile to consult with your mattress manufacturer first. Ultimately, the decision to use professionals depends on your confidence, the value of your mattress, and your personal moving needs.
Frequently Asked Questions
Q1: Can I Compress Any Type of Mattress?
Not all mattresses are suitable for compression. While most foam and some latex mattresses can be safely compressed, spring mattresses and those with thick innerspring systems may not withstand the process. Always check the manufacturer’s guidelines before beginning. Compressing the wrong type can damage internal components, void warranties, or reduce comfort over time.
Q2: How Long Can I Keep My Mattress Compressed?
Ideally, a compressed mattress should not be kept in storage for more than two months. Extended compression can cause permanent deformation of the foam and impact comfort. Some manufacturers may have specific recommendations regarding maximum storage time. Always unroll your mattress promptly upon arrival or after moving to ensure it retains its shape and comfort.
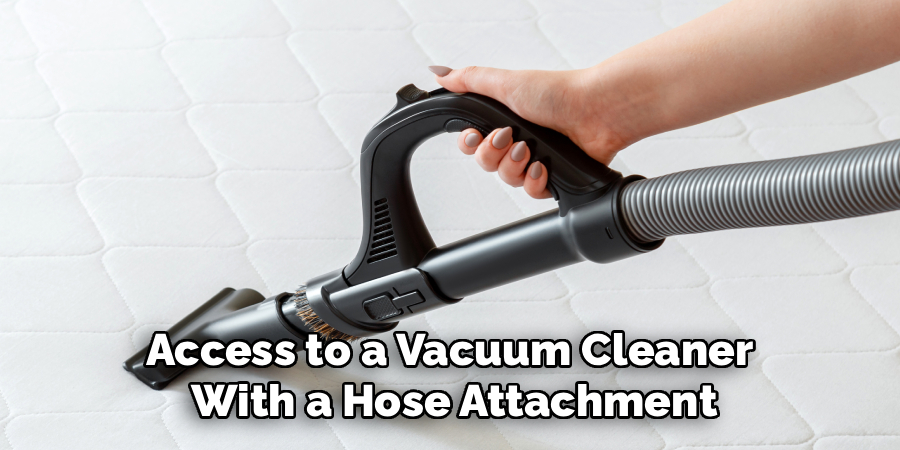
Q3: What If I Don’t Have a Vacuum Cleaner?
If you do not have access to a vacuum cleaner with a hose attachment, consider renting one or asking a friend or neighbor for assistance. Some mattress bags are designed to work with shop vacs in case you don’t have a traditional household model. Attempting to compress a mattress without the proper equipment can lead to subpar results and is not recommended.
Q4: Will Compressing My Mattress Void the Warranty?
Many manufacturers allow for mattresses to be compressed for moving, but always review the warranty agreement before proceeding. If compression is forbidden, or only allowed under certain conditions, taking shortcuts may void your warranty entirely. When in doubt, contact the manufacturer’s customer service to verify approved methods.
Conclusion
Compressing your mattress can be a practical and effective solution for moving, storage, or shipping. By gathering the right tools, following a step-by-step process on how to compress mattress, and avoiding common mistakes, you can ensure your mattress stays safe and ready for use when you need it again.
Although DIY methods work for most, don’t hesitate to call in professionals for complex or expensive mattresses to protect your investment. Equip yourself with knowledge and confidence, and the process will be smoother than you think.
About
Construct Fixes is a distinguished figure in the world of Diy design, with a decade of expertise creating innovative and sustainable Diy solutions.
His professional focus lies in merging traditional craftsmanship with modern manufacturing techniques,
fostering designs that are both practical and environmentally conscious. As the author of diy,
constructfixes delves into the art and science of construction-making, inspiring artisans and industry professionals alike.
Education RMIT University
(Melbourne, Australia) Associate Degree in Design (Construct Fixes) Focus on sustainable design, industry-driven projects,
and practical craftsmanship. Gained hands-on experience with traditional and digital manufacturing tools, such as CAD and CNC software.
Nottingham Trent University
(United Kingdom) Bachelor’s in constructfixes.com and Product Design (Honors) Specialized in product design with a focus on blending creativity with production
techniques. Participated in industry projects, working with companies like John Lewis and Vitsoe to gain real-world insights.
Publications and Impact
In diy, Construct Fixes his insights on indoor design processes, materials, and strategies for efficient production.
His writing bridges the gap between artisan knowledge and modern industry needs, making it a must-read for both budding designers and seasoned professionals.