
When your baby is congested, their discomfort can make the whole household feel distressed. A stuffy nose can disrupt sleep, making it difficult for your little one to breathe comfortably. As a parent, you naturally want to find a safe and effective way to provide relief. One common recommendation is to slightly elevate the head of the crib mattress.

This gentle incline can use gravity to help drain nasal passages, potentially leading to better sleep and a more comfortable baby. However, it’s crucial to approach this method with safety as the top priority. Incorrectly elevating the mattress can introduce risks, so following proper guidelines on how to elevate crib mattress for congestion is essential for your baby’s well-being. This guide will provide a detailed, step-by-step process to ensure you do it correctly.
Tools and Materials You’ll Need
Before you begin, gather the necessary items to make the process smooth and safe. You won’t need an extensive toolkit, but having these specific items on hand will ensure you can elevate the mattress securely without any last-minute searching.
- A firm, well-fitting crib mattress
- A sturdy, commercially available crib wedge OR
- Firm towels or blankets
- A tape measure
- A level (optional, but helpful for ensuring an even surface)
- A non-slip mat or shelf liner (optional)
8 Simple Step-By-Step Guidelines on How to Elevate Crib Mattress for Congestion
Step 1: Consult Your Pediatrician
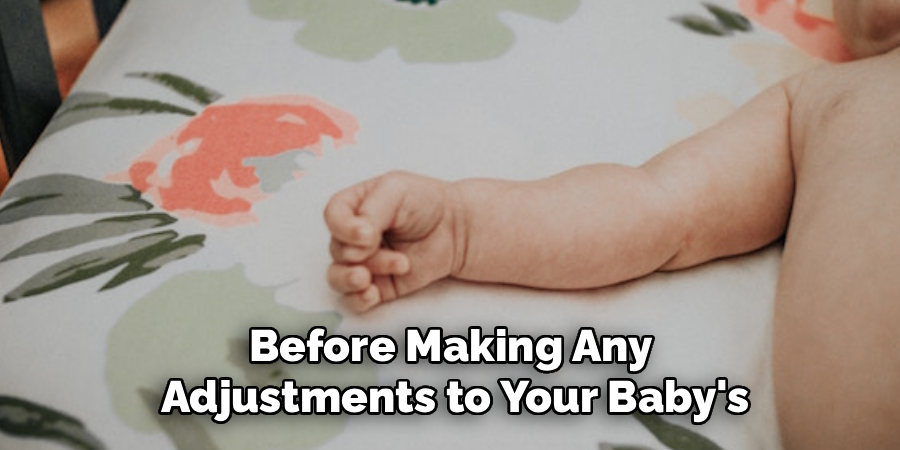
Before making any adjustments to your baby’s sleeping environment, the first and most critical step is to consult with your pediatrician. Your baby’s doctor can confirm if elevation is the right approach for their specific symptoms and rule out any underlying conditions that might require different treatment. They can provide personalized advice based on your baby’s age, weight, and overall health, ensuring that this method is appropriate and safe for them.
This consultation is not just a formality; it’s a vital safety check. Your pediatrician can offer guidance on the ideal angle of incline and advise on how long to keep the mattress elevated. They are also your best resource for understanding safe sleep practices as recommended by organizations like the American Academy of Pediatrics (AAP). Bringing up your plan allows them to discuss any potential risks, such as the baby sliding or rolling into an unsafe position, and offer strategies to mitigate them.
Step 2: Choose a Safe Elevation Method
Once you have your pediatrician’s approval, you need to select a safe method for creating the incline. The most recommended option is to use a specially designed crib wedge. These are firm, angled wedges made specifically to fit under a crib mattress, providing a stable and uniform slope. They are engineered to prevent sudden shifts or collapse, which is why they are often preferred. Look for a wedge that is the full width of the crib to avoid creating uneven gaps.
If a commercial wedge is not available, you can use firmly rolled towels or blankets. It is crucial that these items are placed underneath the mattress, never inside the crib with the baby. Using items inside the crib creates a suffocation hazard. When using towels, roll them tightly and ensure they create a gradual, even incline across the entire head of the mattress. The goal is a gentle slope, not a steep ramp, so start with a minimal amount and adjust as needed.
Step 3: Prepare the Crib
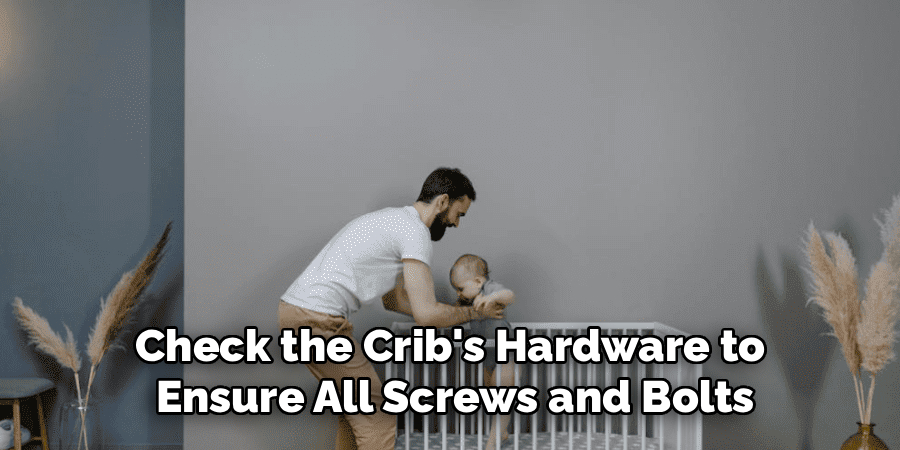
Before elevating the mattress, you need to prepare the crib. Start by removing all items from the crib, including the fitted sheet, mattress protector, and the mattress itself. This is also a good opportunity to check the crib’s hardware to ensure all screws and bolts are tight and the structure is completely stable. A secure crib frame is the foundation for a safe sleep environment, and this becomes even more important when you are altering the mattress position.
With the crib empty, you have a clear space to work. This allows you to accurately place the elevation material without anything getting in the way. Take a moment to inspect the mattress support system. Whether it’s a spring base or a solid board, ensure it is set to the lowest possible position. This minimizes the risk of your baby being able to climb or fall out of the crib as they get older and more mobile, a crucial safety measure for any crib setup.
Step 4: Place the Elevation Material Under the Mattress
Now it’s time to create the incline. If you are using a crib wedge, position it at the head of the crib, directly on top of the mattress support platform. Make sure it is centered and flush against the head of the crib frame. If you are using rolled towels or blankets, place them in the same location—underneath where the head of the mattress will be. The key is to place these items under the mattress, not in the crib itself.
The placement must be precise to ensure stability and a consistent angle. The wedge or towels should span the full width of the crib to prevent the mattress from tilting sideways or creating dangerous gaps along the edges. If using towels, you may need to stack a couple of tightly rolled ones to achieve the desired height. The elevation should be subtle. You are aiming for a very slight incline, just enough to help with drainage, not to prop your baby up into a sitting position.
Step 5: Replace the Mattress Securely
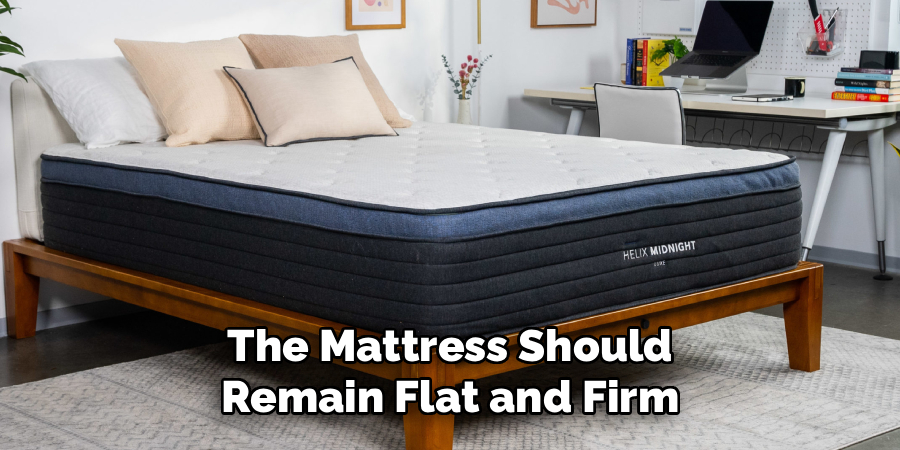
With the wedge or towels in place, carefully lower the mattress back onto the support platform. Press down firmly on the mattress, especially around the edges and at the elevated end, to ensure it is seated securely. The mattress should remain flat and firm, with only a gentle, uniform slope from head to foot. There should be no bumps, lumps, or soft spots created by the elevation materials underneath.
Check for any gaps between the mattress and the crib rails on all four sides. According to safe sleep guidelines, there should be no more than a two-finger width between the mattress and the crib frame. Elevating the mattress can sometimes cause it to shift, potentially creating a hazardous gap. If you notice any significant spaces, you may need to readjust the elevation materials or add a non-slip mat under the mattress to prevent it from sliding.
Step 6: Check the Angle of Incline
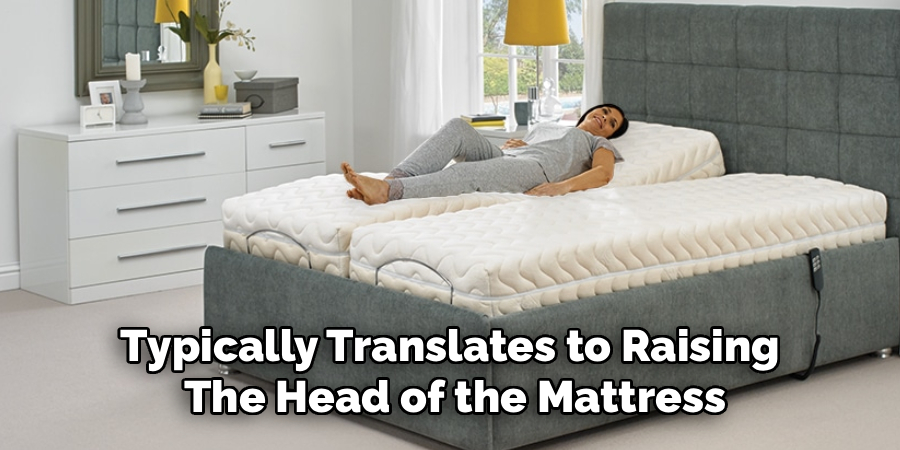
The angle of elevation is critical—too steep, and it can be dangerous; too subtle, and it may not be effective. The goal is to create a gentle incline of no more than 10 to 15 degrees. This is a very slight lift. As a reference, this usually equates to raising the head of the mattress by about three to six inches. You can use a tape measure to check the height difference between the head and foot of the mattress.
A very steep angle increases the risk of your baby sliding down towards the foot of the crib, where their neck could be compressed, or they could end up in an unsafe position. The elevation should be just enough to use gravity to your advantage without compromising your baby’s safety. Start with a lower incline and observe your baby. If needed, you can make minor adjustments, but always prioritize a shallow angle over a steep one.
Step 7: Put on the Fitted Sheet Tightly
Once the mattress is securely in place and you’ve confirmed the angle is safe, the next step is to put the fitted sheet back on. It is imperative that the sheet fits snugly and tightly over the mattress and does not come loose. A loose sheet can become an entanglement or suffocation hazard. The process of elevating the mattress can sometimes make the sheet fit differently, so double-check that all corners are pulled down tight.
After putting on the sheet, run your hand over the surface to ensure it is smooth and flat. Tug at the corners and sides to test its security. The sheet should not bunch up or have any excess fabric that your baby could grab. If your current sheet seems too loose after elevating the mattress, consider purchasing a new, better-fitting one. A secure fitted sheet is a non-negotiable component of a safe sleep space for your baby.
Step 8: Monitor Your Baby Closely
With the mattress elevated and the crib prepared, the final and ongoing step is to monitor your baby closely. Pay attention to their position in the crib, especially during the first few nights with the new setup. Watch to see if they are sliding down toward the foot of the crib. Some minor shifting is normal, but if your baby consistently ends up in a scrunched position at the bottom, the incline may be too steep and should be reduced.

Also, observe your baby’s breathing and overall comfort. The goal of elevating the mattress is to alleviate congestion and improve their sleep. Check to see if they seem more comfortable and are breathing more easily. If your baby’s congestion does not improve or worsens, or if they appear to be in any distress, return the mattress to a flat position and contact your pediatrician for further guidance. Your attentiveness is the final layer of safety.
Following these steps on how to elevate crib mattress for congestion can greatly improve your baby’s comfort and sleep quality. However, there are also other factors that may contribute to congestion in babies, such as allergies or infections. It is important to monitor your baby’s symptoms and consult with their pediatrician if necessary.
Common Mistakes to Avoid
- Never place pillows, blankets, or any soft objects inside the crib to prop up your baby.
- Avoid creating an incline that is too steep, which can cause your baby to slide down.
- Do not elevate the mattress by placing objects directly under the crib legs, as this can make the crib unstable.
- Ensure the mattress remains firm and does not create gaps between it and the crib sides.
- Never use this method without first consulting your pediatrician for approval and guidance.
Frequently Asked Questions
Q1: Is It Safe to Elevate a Crib Mattress for Congestion?
A1: Elevating a crib mattress can be safe, but only if it is done correctly and with a doctor’s approval. The American Academy of Pediatrics (AAP) recommends a firm, flat sleep surface without any incline for routine sleep. However, for temporary issues like congestion or reflux, some pediatricians may suggest a slight elevation. The key is to create a very gentle, stable incline by placing a wedge or firm towels under the mattress, never inside the crib. Always monitor your baby to ensure they don’t slide into an unsafe position.
Q2: How High Should I Elevate the Crib Mattress?
A2: The elevation should be minimal. A slight incline of 10 to 15 degrees is generally recommended, which typically translates to raising the head of the mattress by about three to six inches from the foot. A steeper angle increases the risk of your baby sliding downwards. It’s best to start with a lower incline and only increase it slightly if necessary, while always prioritizing your baby’s safety and stability in the crib. Using a tape measure can help you achieve a precise and safe height.
Q3: Can I Place a Pillow Under the Mattress?
A3: You should not use a regular pillow under the mattress to create an incline. Pillows are too soft and can create an uneven, lumpy surface that is not safe for a baby. They can compress easily and fail to provide the stable, uniform support needed. Instead, use a firm, commercially designed crib wedge or tightly rolled, firm towels. These options provide a solid foundation and reduce the risk of creating dangerous dips or soft spots in the sleep surface.
Q4: What Are the Risks of Elevating a Crib Mattress?
A4: The primary risk is that the baby could slide down to the foot of the crib. This can cause them to end up in a scrunched position that might compress their airway and impede breathing. A steep incline also increases the risk of the baby rolling into the sides of the crib. Additionally, improper elevation can create gaps between the mattress and the crib frame, posing an entrapment hazard. These risks are why it is crucial to use a very slight incline and to always monitor your baby closely.

Conclusion
Finding ways to comfort your congested baby can feel overwhelming, but a safely elevated crib mattress can offer simple, effective relief. By using a gentle incline, you can help gravity clear your baby’s nasal passages, leading to more restful sleep for them and for you. The foundation of this method is safety. Always begin with a conversation with your pediatrician to ensure this approach is right for your child.
By following these detailed steps on how to elevate crib mattress for congestion—from choosing the right materials to carefully monitoring your baby—you can confidently adjust their sleep environment. Remember to keep the incline slight, ensure the mattress remains firm and snug, and never add any soft bedding to the crib. Your careful attention and adherence to safety guidelines will help your little one breathe easier and rest more comfortably through their cold.
About
Construct Fixes is a distinguished figure in the world of Diy design, with a decade of expertise creating innovative and sustainable Diy solutions.
His professional focus lies in merging traditional craftsmanship with modern manufacturing techniques,
fostering designs that are both practical and environmentally conscious. As the author of diy,
constructfixes delves into the art and science of construction-making, inspiring artisans and industry professionals alike.
Education RMIT University
(Melbourne, Australia) Associate Degree in Design (Construct Fixes) Focus on sustainable design, industry-driven projects,
and practical craftsmanship. Gained hands-on experience with traditional and digital manufacturing tools, such as CAD and CNC software.
Nottingham Trent University
(United Kingdom) Bachelor’s in constructfixes.com and Product Design (Honors) Specialized in product design with a focus on blending creativity with production
techniques. Participated in industry projects, working with companies like John Lewis and Vitsoe to gain real-world insights.
Publications and Impact
In diy, Construct Fixes his insights on indoor design processes, materials, and strategies for efficient production.
His writing bridges the gap between artisan knowledge and modern industry needs, making it a must-read for both budding designers and seasoned professionals.