
Discovering a stain on your mattress can be frustrating, but you don’t always need expensive, specialized cleaners to solve the problem. An unconventional but surprisingly effective solution might already be in your bathroom cabinet: shaving cream. This common household item can work wonders on various mattress stains, from food spills to general grime.

This guide on how to clean a mattress with shaving cream will walk you through everything you need to know about this cleaning hack. We’ll cover the necessary tools, a detailed step-by-step process, and other important considerations. By following these instructions, you can restore your mattress’s appearance and maintain a clean, hygienic sleeping environment without breaking the bank.
Tools and Materials You’ll Need
Before you begin, gather the following items to ensure the cleaning process goes smoothly:
- Plain white foam shaving cream (avoid gels or colored creams)
- A vacuum cleaner with a hose and upholstery attachment
- Several clean, dry cloths or towels
- A bowl of clean, cold water
- A spatula or a dull knife
- A spray bottle (optional, for rinsing)
7 Simple Step-By-Step Guidelines on How to Clean a Mattress With Shaving Cream
Follow these seven steps to effectively lift stains from your mattress using shaving cream.
Step 1: Prepare the Mattress
The first crucial step is to prepare the mattress surface for cleaning. Begin by stripping all bedding, including sheets, blankets, mattress protectors, and pillowcases. This is also a great opportunity to wash your bedding to ensure everything is fresh when you remake the bed. Once the mattress is bare, take a close look at its surface to identify all the stains you intend to treat. It’s important to locate all spots so you can address them in one cleaning session.
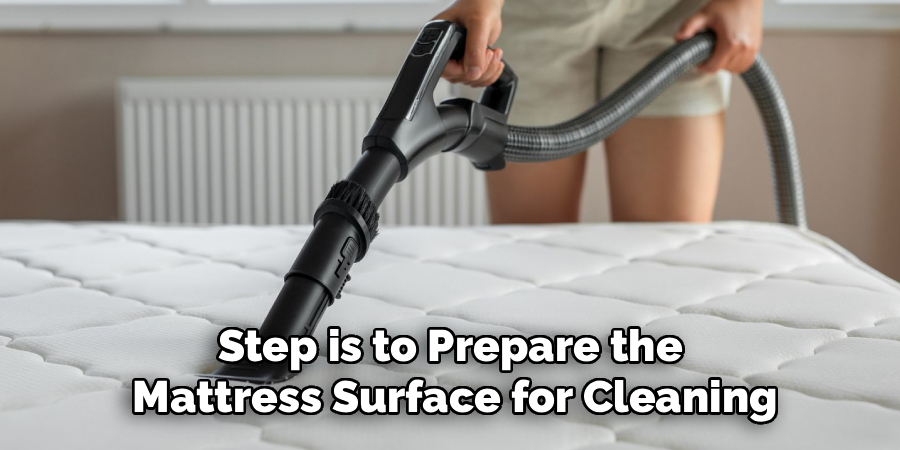
After identifying the stains, thoroughly vacuum the entire mattress. Use your vacuum cleaner’s upholstery attachment to go over the top, sides, and any crevices. This removes dust, dirt, hair, dead skin cells, and other loose debris that has accumulated over time. A clean surface allows the shaving cream to penetrate the stain more effectively without trapping additional dirt in the fabric. A preliminary vacuuming ensures you are treating the stain itself, not just the surface-level grime, leading to a much better final result.
Step 2: Spot Test the Shaving Cream
Before applying shaving cream to a visible stain, it is essential to perform a spot test on a small, inconspicuous area of your mattress. A good place for this is along the edge at the foot of the bed or on a side panel that is usually hidden from view. This simple test is a critical precaution to ensure the shaving cream doesn’t cause any discoloration, fabric damage, or unwanted reactions with your specific mattress material. Different mattresses are made from various blends of fabric and foam, and they can react differently to cleaning agents.
To perform the test, apply a small amount of the plain white foam shaving cream to your chosen hidden spot. Let it sit for about 15-20 minutes, which mimics the time it will sit on the actual stain. After the time has passed, gently wipe it away with a clean, damp cloth. Then, use another clean, dry cloth to blot the area until it is as dry as possible. Allow the spot to air dry completely and then inspect it carefully for any changes in color or texture. If the area looks unchanged, you can proceed with confidence.
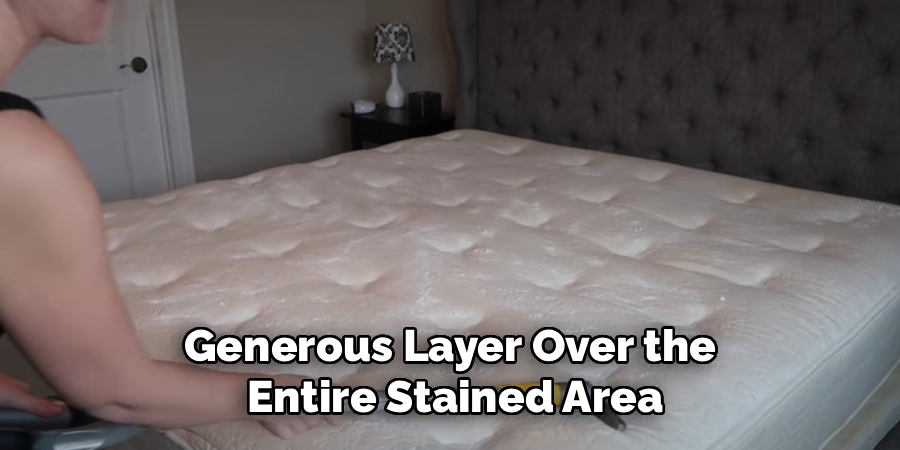
Step 3: Apply the Shaving Cream to the Stain
Once you’ve confirmed that the shaving cream is safe for your mattress, you can apply it directly to the stain. Hold the can of plain white foam shaving cream and spray a generous layer over the entire stained area. Ensure the stain is completely covered with a thick coat of foam. Think of it like frosting a cake; you want an even layer that fully encapsulates the spot you are trying to lift. The active ingredients in the shaving cream, often including surfactants and emulsifiers, are what work to break down the oils and proteins in the stain.
Using a spatula or the back of a spoon, gently work the shaving cream into the fibers of the mattress. Use light, circular motions to spread it evenly and help it penetrate the stain. Avoid aggressive scrubbing, as this can push the stain deeper into the mattress padding or damage the fabric. The goal is simply to ensure the foam is in full contact with the stained fibers. Let the shaving cream sit on the stain for at least 30 minutes. This dwell time is crucial, as it gives the cleaning agents enough time to break down and lift the stain from the fabric.
Step 4: Let the Shaving Cream Work Its Magic
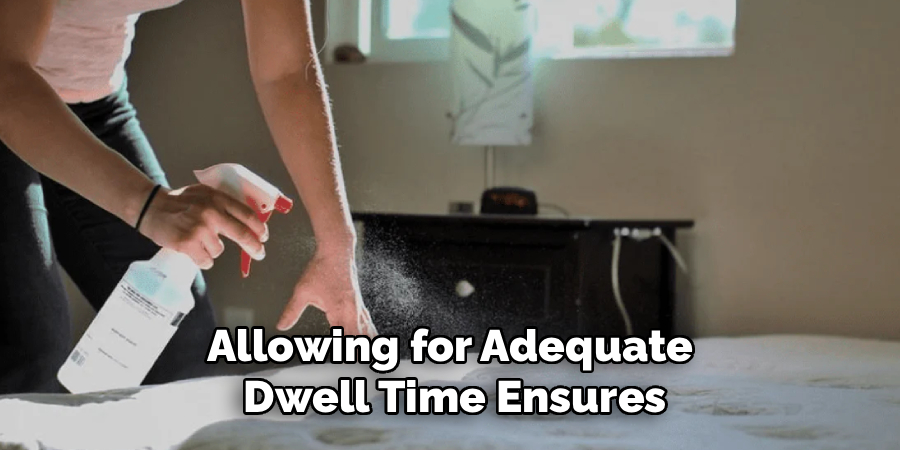
Patience is key during this step. After you have applied the shaving cream and worked it into the stain, you need to let it sit undisturbed for a minimum of 30 minutes. For older or more stubborn stains, you might consider leaving it on for up to an hour. During this time, the foam will begin to dissolve and sink into the fabric, and you will notice it starting to disappear. This is a sign that the cleaning agents are actively breaking down the components of the stain, lifting the particles away from the mattress fibers.
As the shaving cream works, it essentially encapsulates the dirt and grime. The surfactants in the foam reduce the surface tension, allowing the solution to penetrate the stain, while other ingredients work to dissolve oils and suspend the dirt particles within the foam. This process prevents the stain from simply spreading or soaking deeper into the mattress. Resisting the urge to wipe it away too soon is important for achieving the best results. Allowing for adequate dwell time ensures the chemical reaction has fully taken place.
Step 5: Wipe Away the Residue
After the shaving cream has sat on the stain for at least 30 minutes, it’s time to remove the residue. Take a clean, damp cloth—wrung out so it’s not dripping wet—and begin to gently wipe away the shaving cream. It’s best to work from the outside of the stain inward. This technique helps prevent the stain from spreading as you clean. Continue wiping until all visible traces of the shaving cream foam are gone. You may need to rinse your cloth in clean water and wring it out several times during this process to avoid reapplying dirt to the mattress.
Once the foam is removed, you will likely see a significant improvement in the stain’s appearance. For particularly tough stains, you might need to repeat the process. However, for most common spills and spots, one application is often sufficient. The cloth will lift the shaving cream along with the dirt and oils it has loosened from the mattress fibers. Be thorough in this step to ensure no soapy residue is left behind, as any remaining cleaning agent could attract more dirt over time.
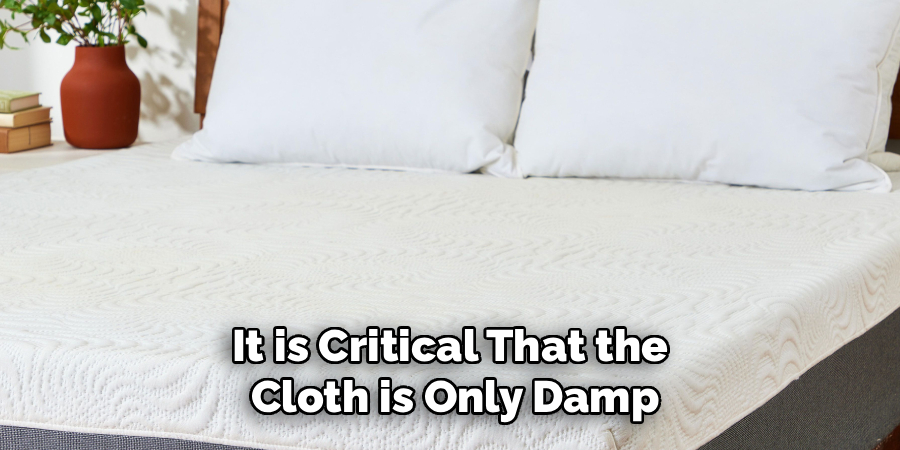
Step 6: Rinse the Cleaned Area
Rinsing the area is an important follow-up step to ensure all cleaning residue is removed from the mattress fabric. While you’ve wiped away the foam, some of the cleaning agents might remain embedded in the fibers. To rinse, lightly dampen a fresh, clean cloth with cold water. It is critical that the cloth is only damp, not saturated, as you want to avoid soaking the mattress. Excessive water can lead to mold and mildew growth within the mattress padding, creating a bigger problem than the original stain. A spray bottle filled with clean water can also be helpful for lightly misting the area before blotting.
Gently blot the treated area with the damp cloth. Do not rub or scrub. The goal of blotting is to lift any remaining shaving cream residue out of the fabric. Press the cloth firmly onto the spot and lift, repeating this motion across the entire cleaned area. You may need to rinse the cloth and repeat the blotting process a few times to ensure the area is fully rinsed. This step helps restore the natural texture of the mattress fabric and prevents the spot from feeling stiff or sticky once it dries.
Step 7: Dry the Mattress Thoroughly
The final and most critical step is to ensure the mattress is completely dry before you put any bedding back on it. A damp mattress is a breeding ground for mold, mildew, and bacteria, which can lead to unpleasant odors and potential health issues. First, use a clean, dry towel to blot the wet area and absorb as much moisture as possible. Press down firmly with the towel, and repeat with dry sections of the towel until no more water can be absorbed.
After blotting, allow the mattress to air dry completely. To speed up the process, increase air circulation in the room by opening windows or turning on a fan aimed directly at the wet spot. You can also use a hairdryer on a low-heat or cool setting, keeping it several inches away from the fabric to prevent heat damage. Depending on the amount of water used and the humidity in the room, it could take several hours for the mattress to dry fully. Check the area periodically by pressing a dry hand against it. Only when it feels completely dry to the touch is it safe to remake your bed.
Following these steps on how to clean a mattress with shaving cream will not only help to eliminate stains and odors, but it can also improve the overall cleanliness and lifespan of your mattress. However, prevention is always better than a cure.
Do You Need To Use Professionals?
For minor, fresh stains, using shaving cream is a highly effective do-it-yourself method that doesn’t require professional intervention. It is a quick and affordable solution for tackling common spills like coffee, soda, or light food stains. This approach is ideal for those who are comfortable with a hands-on solution and want to address a stain immediately.
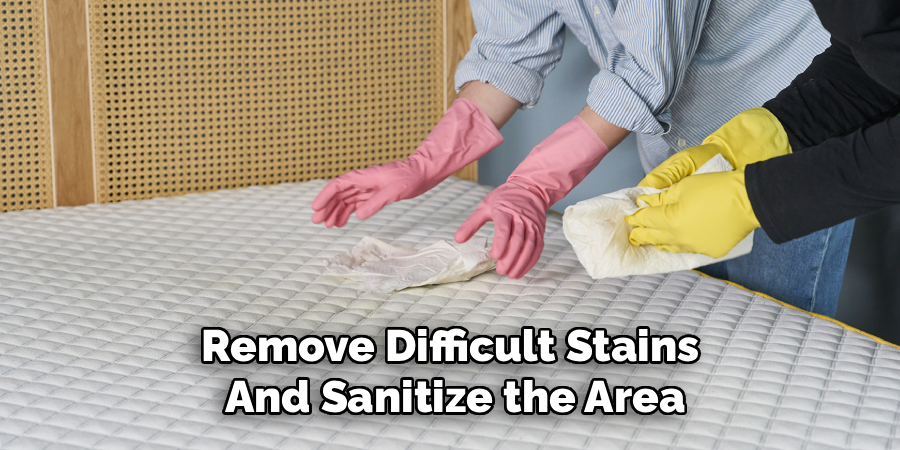
However, for large, old, or stubborn stains, such as pet urine, blood, or heavy oil-based spills, professional help may be necessary. Professionals have access to industrial-grade equipment and specialized chemical treatments that can penetrate deep into the mattress to remove difficult stains and sanitize the area thoroughly. If you have a high-end mattress, are dealing with a warranty, or the stain is accompanied by a strong odor, calling a professional is the safest and most effective option.
How Much Will It Cost?
The cost of cleaning a mattress with shaving cream is exceptionally low, making it one of the most budget-friendly cleaning hacks available. The primary expense is a can of plain white foam shaving cream, which typically costs just a few dollars at any supermarket or drugstore. The other materials needed—such as cloths, water, and a vacuum cleaner—are standard household items that you likely already own. Therefore, the total out-of-pocket expense for this DIY method is minimal, usually under $5.
In contrast, hiring a professional mattress cleaning service is significantly more expensive. Professional services can range from $75 to $200 or more, depending on your location, the size of your mattress, and the severity of the stains. While professionals provide a deep, thorough clean, the cost difference is substantial. For simple surface stains, the shaving cream method offers a nearly free alternative with impressive results, making it an excellent first line of defense.
Frequently Asked Questions
Q1: Does This Method Work on All Types of Stains?
A1: The shaving cream method is most effective on fresh, water-soluble, and oil-based stains. It works well on things like makeup, lotion, food spills, and general grime because the surfactants in the foam help break down oils and lift particles from the fabric. However, it may be less effective on set-in stains or tough biological stains like blood, urine, or red wine. For those, you may need a specialized enzyme cleaner or professional assistance.
Q2: Can I Use Gel or Colored Shaving Cream?
A2: No, you should only use plain white foam shaving cream. Shaving gels have a different consistency and do not foam up in the same way, making them less effective for lifting stains. Additionally, colored or mentholated shaving creams contain dyes and additives that could potentially stain your mattress further or leave behind a strong, unwanted scent. Always stick to the most basic, inexpensive white foam cream you can find.
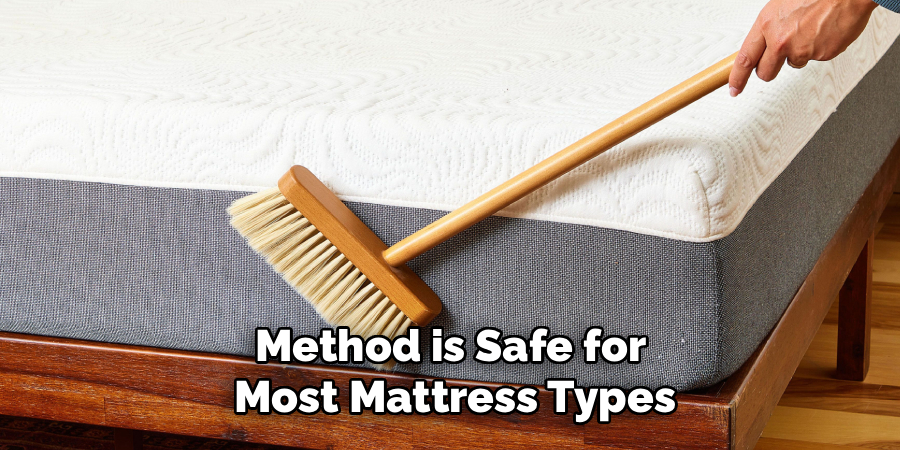
Q3: Will Shaving Cream Damage My Memory Foam Mattress?
A3: Generally, this method is safe for most mattress types, including memory foam, but it’s crucial to be cautious with moisture. Memory foam is very absorbent, and excessive water can damage its structure and lead to mold. When using this technique on a memory foam mattress, be extra careful to use a minimal amount of water for rinsing and ensure the area is blotted thoroughly. Always perform a spot test and prioritize getting the mattress completely dry.
Q4: How Long Does the Mattress Take to Dry?
A4: The drying time can vary significantly based on how much water was used, the humidity in your home, and the airflow in the room. A small, lightly treated spot may dry in as little as 2-3 hours. A more saturated area could take 8-10 hours or even longer. To be safe, it’s best to allow the mattress to air dry for a full 24 hours to ensure all moisture deep within the fibers has evaporated before you put sheets back on.
Conclusion
Cleaning your mattress doesn’t have to be a complicated or expensive task. With a simple can of white shaving foam and a little bit of effort, you can effectively tackle many common stains and refresh your sleeping surface. This DIY method is a testament to the power of using everyday household items for cleaning, offering a practical and economical alternative to commercial products.
By following the detailed steps outlined in this guide on how to clean a mattress with shaving cream—from preparation and application to rinsing and drying—you can restore your mattress’s clean appearance. Remember to always spot test first and ensure the mattress is completely dry before use. This simple yet powerful cleaning hack can help you maintain a cleaner, more hygienic bed and extend the life of your mattress.
About
Construct Fixes is a distinguished figure in the world of Diy design, with a decade of expertise creating innovative and sustainable Diy solutions.
His professional focus lies in merging traditional craftsmanship with modern manufacturing techniques,
fostering designs that are both practical and environmentally conscious. As the author of diy,
constructfixes delves into the art and science of construction-making, inspiring artisans and industry professionals alike.
Education RMIT University
(Melbourne, Australia) Associate Degree in Design (Construct Fixes) Focus on sustainable design, industry-driven projects,
and practical craftsmanship. Gained hands-on experience with traditional and digital manufacturing tools, such as CAD and CNC software.
Nottingham Trent University
(United Kingdom) Bachelor’s in constructfixes.com and Product Design (Honors) Specialized in product design with a focus on blending creativity with production
techniques. Participated in industry projects, working with companies like John Lewis and Vitsoe to gain real-world insights.
Publications and Impact
In diy, Construct Fixes his insights on indoor design processes, materials, and strategies for efficient production.
His writing bridges the gap between artisan knowledge and modern industry needs, making it a must-read for both budding designers and seasoned professionals.